No-Till Garden Beds By Hand With A Broadfork

garden bed before

You've pulled out your summer crops. Now what? It's time to prepare the beds for a fall crop, cover, or mulch before winter.

I use a broadfork and Garden Claw to gently aerate and cultivate the soil. No-till methods like this are found to enhance the productivity of the soil, and besides, tillers are jerky, smoky, heavy pieces of equipment to wield.

If needed, I start by pulling large weeds by hand. I try to not let beds get too weedy but sometimes it happens, as you can see in the sunny early-morning garlic bed pictured above.

using a broadforkno-till broadforkingbroadfork no-till garden bed

I begin working the soil with a broadfork borrowed from City Folk's Farm Shop. I plunge the tines into the soil and gently press down on the cross bar. Then I rock the broadfork back to lift the soil gently as I pull the broadfork out. I don't turn the soil here, I just use the tines to aerate sections.

Next I quickly rotate a Garden Claw (available for purchase at City Folk's) to the right and left over the surface of the whole bed. The point of the claw is to break up large clods and loosen any smaller weeds. I keep movements gentle here so as to not compact the soil.

using garden fork

Before I plant seeds or transplants, I go back over the bed with a hand cultivator or rake to remove the loosened weed roots and/or smooth the soil into rows. As needed, I add compost and/or organic fertilizer to build the nutrient potential. At all times I maintain the edges of the bed, piling up loose soil back onto the center as needed.

garden bed after no-till

I've seen the results of this no-till, hand-powered method at Swainway Urban Farm, where the naturally raised beds are now so loamy you can plunge your hands in the soil with almost no resistance. I love the quiet, gentle work of using hand tools to re-build my beds between seasons.

Fall Planting Starts Now...Or Yesterday

Just when tomatoes are coming in by the tons and weeds seem overwhelming, there's one more little task to add to your list of gardening tasks - fall planting. For us, autumn planting is a nice break from the harvest season, a re-commitment to eating fresh from the yard even as temperatures cool. Sowing seeds and seedlings now will give you a crop to eat through the autumn and early winter while preventing soil erosion and nutrient loss.

First, Save Seeds

Before you rip out tomatoes, squash, or peppers, be sure to save seeds from the best fruits. Seed saving should always be in the back of your mind to preserve biodiversity, ensure varieties are adapted to your local conditions, and save cash. Read my seed saving guide published a couple years ago for the basics or the Adaptive Seeds Guide for more detailed information.

Plant Autumn-Sown Garlic, Perennials, Fruits

Several edibles want to be planted at this time of year. Garlic is the most well-know crop that must be planted in the fall. Put yours in the ground before mid October and let it over-winter. You may see sprouts in the fall and that’s ok. They’ll survive snow and ice and shoot up again in the spring.

Fall is a great time to plant many flower bulbs and transplant berries or fruit trees too. Split your own plantings first - strawberry runners, raspberry shoots, herbs, and perennial flowers can all be transplanted in the fall. Often you can find perennials and fruits in the clearance section of your local nursery. It's best to split and transplant in mild weather, but if you run into a hot spell, just water often.

fall planting cabbage seedling

Plant Leafy Greens, Roots, and Cabbages

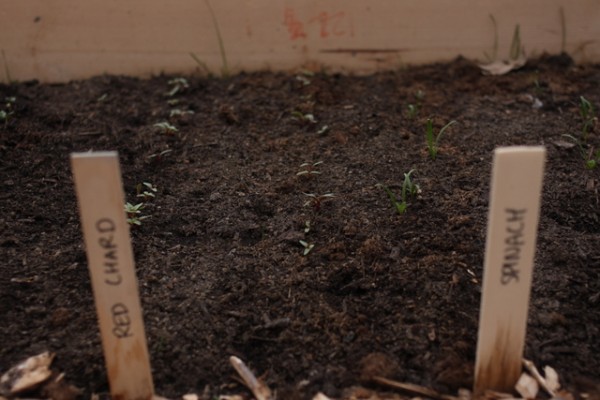
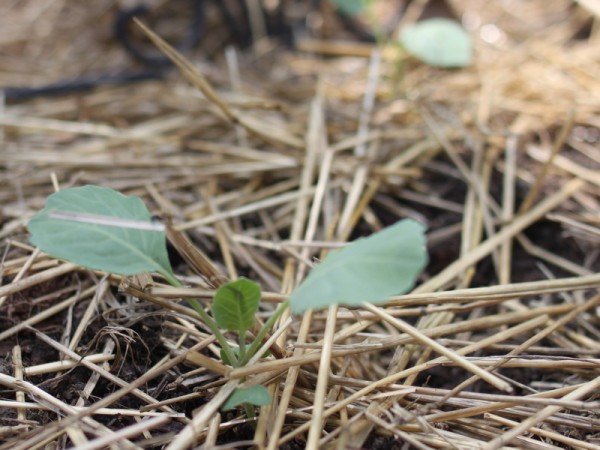
In Ohio, we can grow greens, many root vegetables, and members of the cabbage family in the fall. Planted now, these germinate quickly and tolerate cold temperatures as they mature.

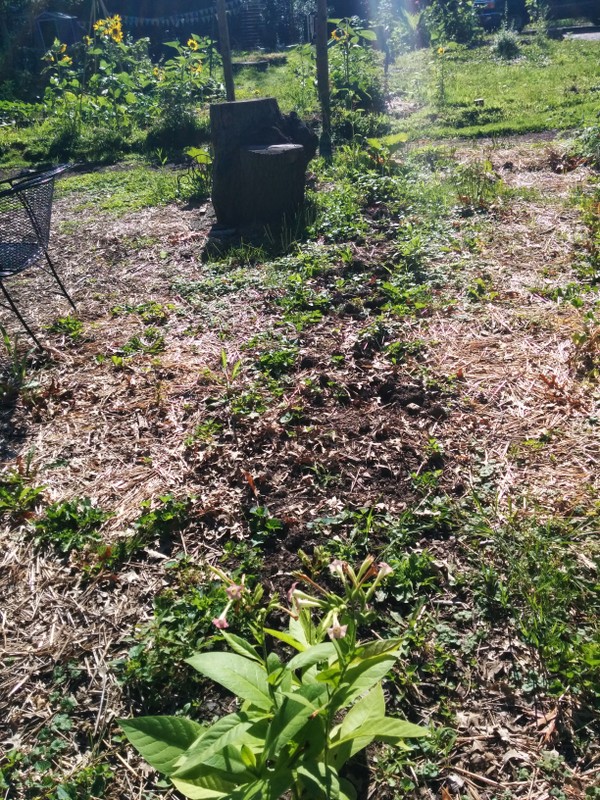
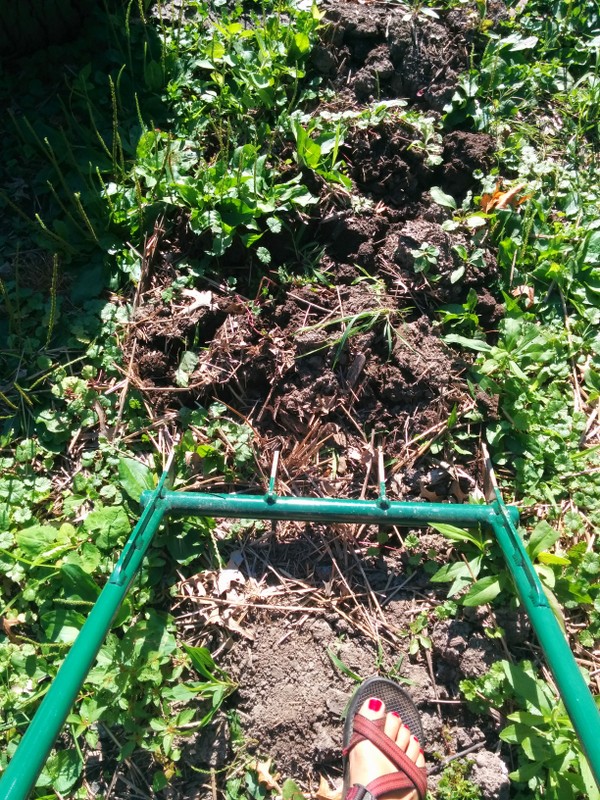
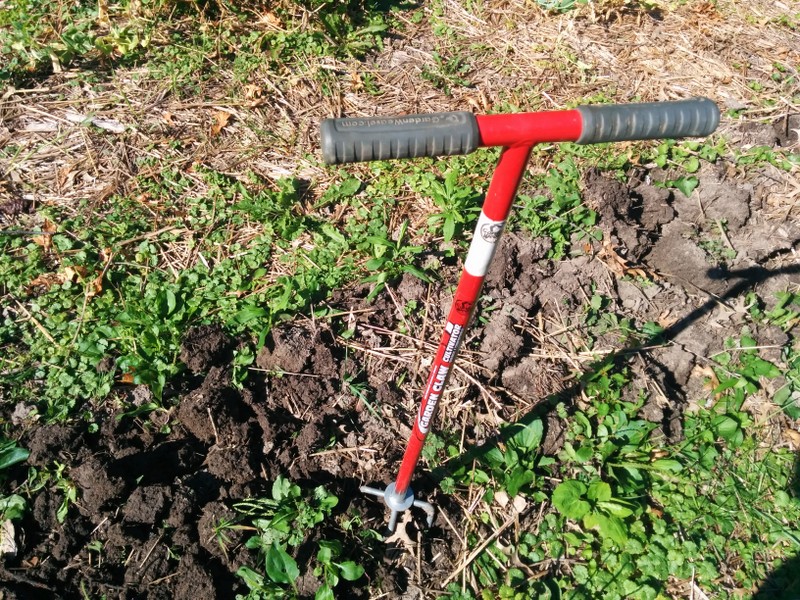
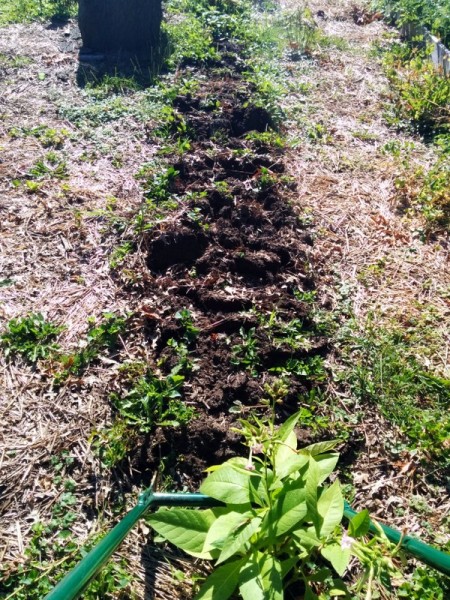
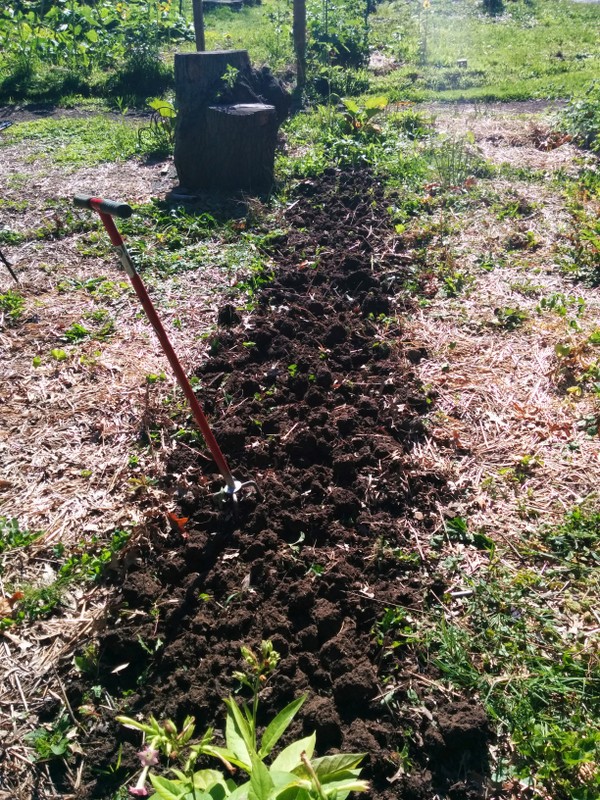
Prepare the beds in which you wish to sow fall crops by lightly turning the soil and adding compost or an organic, mild fertilizer. Baby the seeds and seedlings when they are young, as hot dry days can scorch them. We use straw mulch to prevent weed growth and hold in moisture.

Below is a chart of fall crop dates in central Ohio; be mindful that if you plant seedlings, have a warm microclimate, use season extension, or autumn is mild, you may plant a few weeks beyond these dates.

Variety

Planting Date

Days To Harvest

Notes

arugula

8/20

30

asian greens

7/15

45-50

beets

7/30

50-60

broccoli

7/15

70-90

best started indoors

cabbage

7/15

60-75

best started indoors

carrots

7/30

60-90

sweetens after frost

cauliflower

8/5

60-85

best started indoors

collards

8/5

60-80

endive

8/20

35

kale

7/30

60

sweetens in cool temps

kohlrabi

8/15

55-70

lettuce

8/20

45-70

radish

9/15

35-60

rutabaga

7/30

90-100

sweetens after a frost

spinach

8/20

40-60

swiss chard

7/30

50-60

turnip

8/10

45-60

sweetens after a frost

When Winter Weather Comes

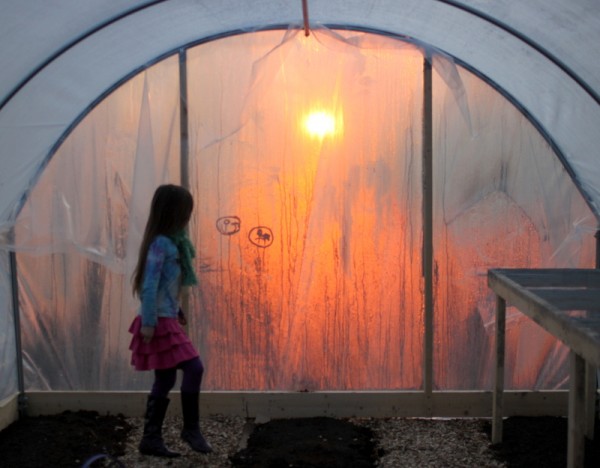
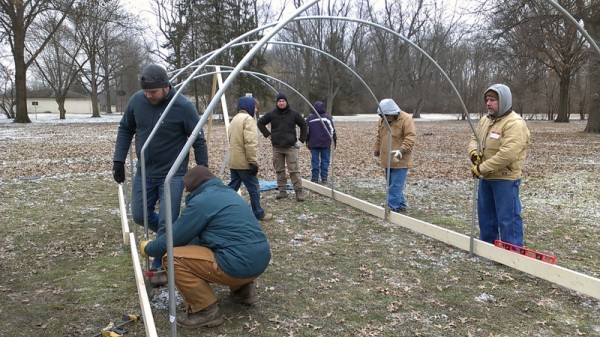
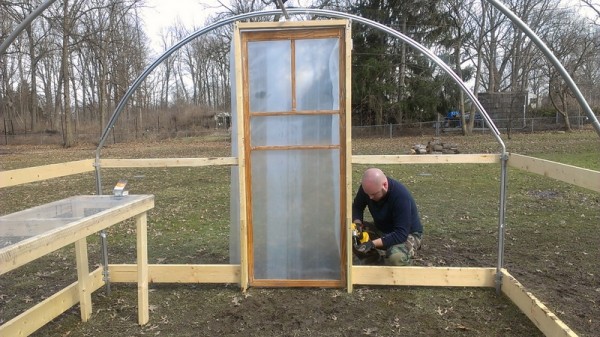
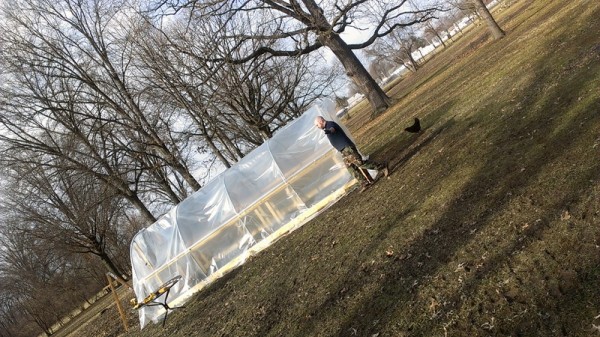
Cold temperatures are not the enemy of fall crops and indeed make some sweeter. There are also simple season extension techniques like row covers and low tunnels to keep plants from succumbing to frost die-off. I'll write about these soon.

Mulch At A Minimum

At the very least, protect your vegetable beds by mulching in the fall with straw or leaf litter. Mulch holds in nutrients, prevents erosion, and helps keep weeds at bay. In the spring, rake off the mulch and begin planting!

 What are you planting now?

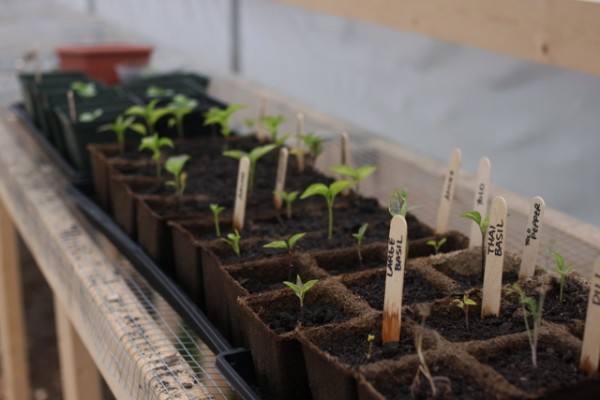
NB. Swainway Urban Farm fall seedlings, like the cabbage pictured above, are available at City Folk's Farm Shop and the Clintonville Farmers' Market for the next few weeks or until supplies run out. If you buy at the market, say hi to me!

Early Spring Inside The Hoop House {Friday Five}

What's going on inside the hoop house we built? 1) Garden beds of Price Farm Organics soil from City Folks Farm Shop and peat moss over cardboard broken by walking paths of landscape cloth covered by mulch. Alas any gaps between the cardboard and cloth are already growing weeds... hardware cloth shelf in hoop house2) Seedlings hardening off on the hardware-cloth shelves. seedlings in hoop house3) Strawberry plants under the shelves where water drains down from seedlings. strawberries in hoop house4) Cold-tolerant food like kales, lettuces, and beets. greens in hoop house bed5) Friends and family hanging out. The hoop house is always warmer than the outside; on the days reaching 70 deg F recently, the hoop house sauna was positively steamy! japanese girls in hoop housesunset hoop house

How We Built A Hoop House

DIY backyard hoop house

What do you get when you combine 500 square feet of UV-resistant plastic, twenty four intrepid individuals and twenty hours of work in the cold? An unheated, season-extending plant paradise otherwise known as a hoop house!

We built our hoop house as a workshop under the expert guidance of Joseph Swain, farmer at Swainway Urban Farm, and building assistance from Gerry Fiegelist, co-owner of City Folks Farm Shop. We chose to purchase a 10x20 foot EZ Build & Gro cold frame kit from Growers Supply for the materials.

setting posts for hoop house

Joseph and Gerry started the process with me by selecting a site. A hoop house does it's job best with the long sides running East-to-West  to take advantage of winter southern exposure. We chose a site away from overhanging branches that could fall and create holes in the plastic. Our hoop house is relatively close to the house and (future) rain barrels to facilitate watering and daily care.

We proceeded to spend nearly two hours setting the post bases. We measured the distance between corners and then adjusted to get them square. We used the 3-4-5 method to square each corner and measured distance between corners again. We moved the stakes over and over, measured diagonals, and moved stakes again. Finally, we felt everything was square and it was time to pound in the metal posts, leveling between each.

setting hoops into posts for hoop house

The following Sunday, twenty people joined our team to learn and help build the hoop house. We fit together metal hoops and arranged them near the posts. Following the Growers Supply directions, we mounted the hoops and then the purline with provided self-tapping screws. We built base boards and side supports from untreated pine lumber and attached these with u-bolts to the hoops.

Next, the team attached u-channel to the side supports and end hoops. The insulating plastic is held in the u-channel with 'wiggle wires', wavy-shaped metal that can be removed should the plastic need to be adjusted or replaced. We wrapped up the workshop portion of the build around this time so people could go home and warm up from the chilly day.

2013-03-004

Gerry and Alex stayed on to build a door frame in one end from more pine lumber. We called it a day because with windy conditions and heavy snow predicted, we didn't want to fuss with the plastic.

installing door on hoop house

A week later, weather was right to build the last end of framing. Alex installed the door and built a simple frame for the opposite end.

Finally it was time to cover everything with plastic. Far from an easy task, this required the full attention of Alex, Lil, and I. A lucky gust of wind lifted the plastic at just the right moment and frantic placement of logs held it in place while we pressed the wiggle wire into the first end channels. We pulled plastic and adjusted wiggle wires until the hoop house was fully enclosed.

sun shining on hoop house

Hoop House Construction Lessons Learned

  • The kit from GrowersSupply.com was complete and ultimately saved money over sourcing items separately. We are very pleased with the quality of the materials and the thorough instruction booklet.
  • The downside is that the kit has to be delivered by freight truck. They gave us a delivery date but no time and of course showed up when I had run out so Alex had to unload by himself.
  • Screwing the self-tapping screws through metal is shoulder-wrenching work. I could not have done it and am so thankful for Gerry, Alex, and others who took on the task. In hindsight, it might have been a better idea to drill pilot holes.
  • The lengthiest part of the process was measuring and setting the post bases but ultimately that made the rest of the build go together smoothly. Don't skimp on this step.
  • Holding a workshop where people pay to help build sounds like a great idea. Indeed, our portion of the registration fee did offset some of the cost of the materials and it was fun to meet interested local gardeners. We are thankful for everyone who came out to learn and help. But communicating, cleaning, arranging furniture, cooking lunch, and cleaning up after the participants increased our workload many times over. Because the date was set for months, we had to build on a less-than-ideal weather day which slowed the build and restricted many participants. All things considered we might offer a build again recognizing that hosting requires a large outlay of time and energy in exchange for the income of workshop fees.

Next week I'll share how we set up the inside and plan to use the hoop house.