Home-canned salsa. It sounds so simple and yet many people struggle to make something that's "just right". The first recipe I tried was too watery. The next was too bland and the third had a too-cooked texture. These were all a disappointing use of homegrown tomatoes and peppers!
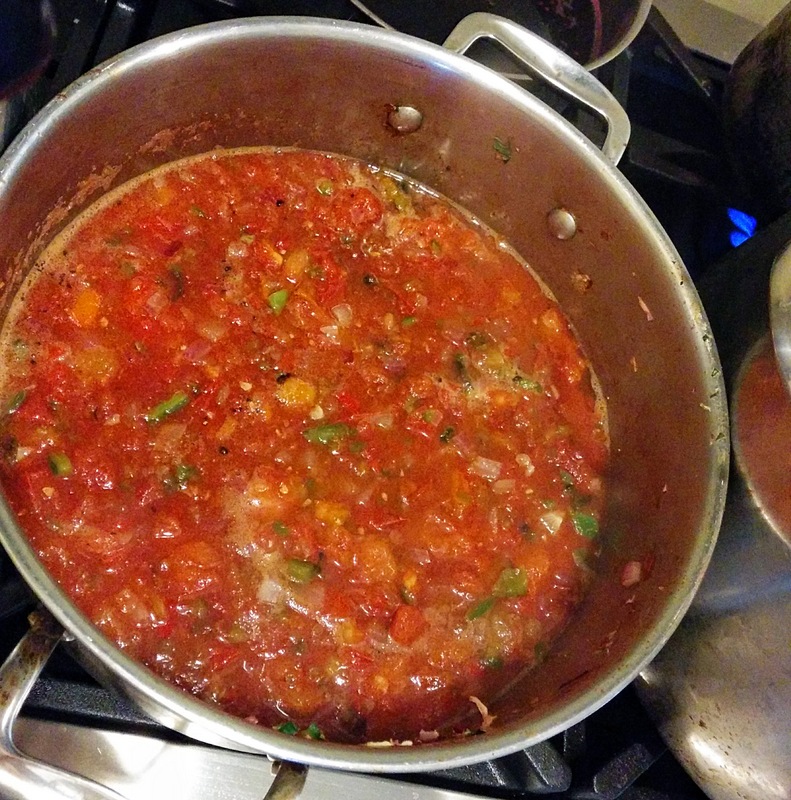
Then finally last year my friend Jenn (who also shared celery powder with me) passed along this recipe. It is thick, richly-flavored, and has a pleasing chunky texture.

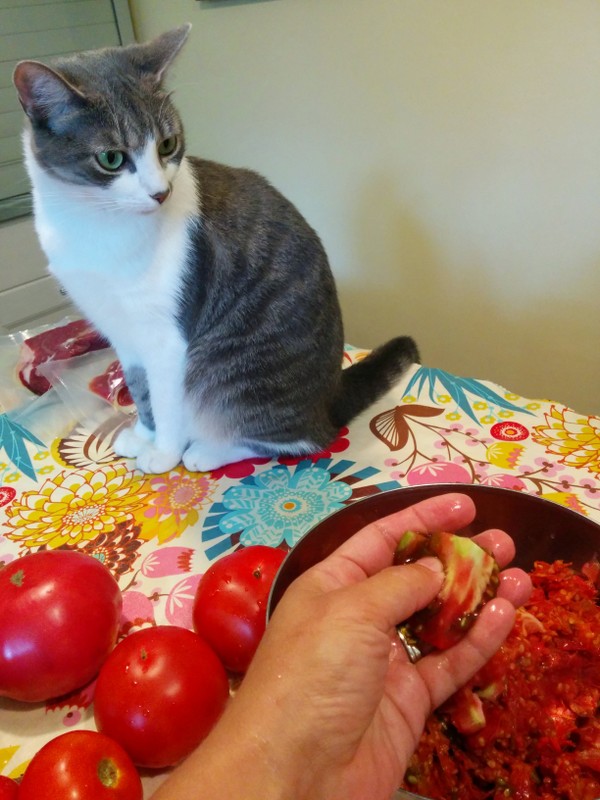
There are several tricks that make this recipe work. First is the preparation of the produce. I carefully remove the seeds and watery pulp with my thumb from each section of tomato and drop that into a bowl for the chickens. I chop the remaining flesh with skin on into a colander to drain away any further juice. I measure the tomato pieces into a large measuring bowl and then move on to chopping the peppers, garlic, and onion.

Next up is seasonings. Dry spices like cumin and coriander add an aged, smokey flavor that differentiates this salsa from fresh pico de gallo. Our own touch is some of last season's homegrown and house smoked ancho peppers.
Two elements contribute to the perfect salsa texture: a quick cooking and processing time and the addition of tomato paste. Overcooked salsa has the taste and texture of tomato soup, which isn't what we prefer. Tomato paste (we can our own each year) thickens the salsa while adding a rich, dense tomato flavor.
I like to can salsa in squat half pint jars manufactured by Kerr, found locally at City Folk's Farm Shop. The short and wide dimensions allow for dipping right out of the jar.
If you, like me, have been searching for the perfect tomato salsa recipe, try this one.
Home-Canned Salsa
Makes: 10 half pints

8 cups chopped, seeded, drained tomatoes 2 cups finely diced red onion 1.5 cups chopped peppers (use a mix of sweet and hot peppers for a medium heat salsa) 6 cloves garlic, minced 1/3 cup lime juice 1/3 cup vinegar 1 tablespoon kosher salt 2 teaspoons ground cumin 2 teaspoons ground smoked ancho peppers 1 teaspoon ground coriander seeds 1 teaspoon black pepper 8 ounces tomato paste
1. Stir tomatoes, onion, peppers, and garlic in a large heavy-bottomed pot. Add in lime juice, vinegar, kosher salt, cumin, ancho peppers, coriander, and black pepper.
2. Bring to a simmer on the stove. Cook for 5-10 minutes until onions begin to soften. Meanwhile, heat 9 half pint jars in a boiling water bath. Wash rings and new lids in hot soapy water.
3. Stir in tomato paste and return salsa to a simmer. Taste and adjust seasonings if necessary.
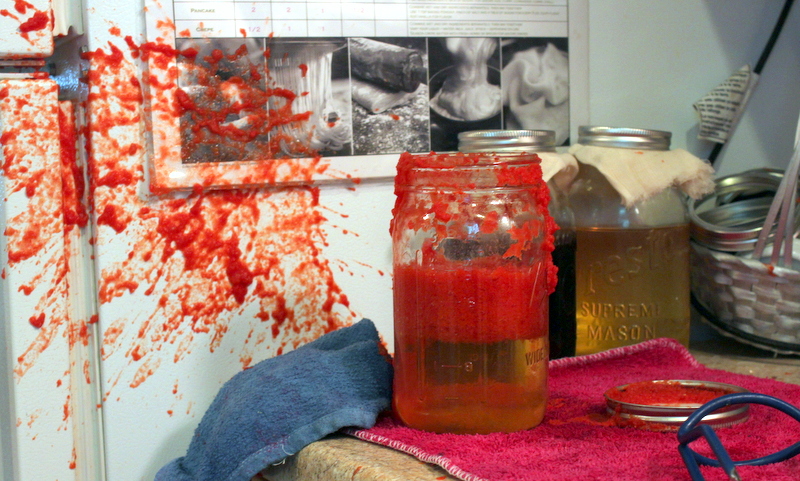
4. Ladle salsa into sterilized jars. Fill to a head space of 1/2 inch. Center lid and tighten rings.
5. Process for 15 minutes in a boiling water bath. Remove from hot water, allow to cool completely, label, and store.
A note about canning salsa safely: Keep the proportions of tomatoes, onions and peppers to lime juice and vinegar consistent. This recipe keeps the ratios of pH tested recipes which rely on juice and vinegar to add acidity and balance the lower pH of onions and peppers. You can use fewer peppers and onions or spice up the salsa with additional dried peppers but do not increase the amount of peppers and onions or you might create a finished product without a low enough pH to be safely canned in a water bath.