I asked on Facebook about what parts of our DIY kitchen renovation you want to hear about and people commented that they want it all. Ok, here we go: The master plan.
Overall Vision
We plan to create a highly functional cooking space by updating to more powerful appliances and adding much more storage. We're aiming for a clean farmhouse look with stained white cabinets and warm, earthy accents.

From The Bottom Up
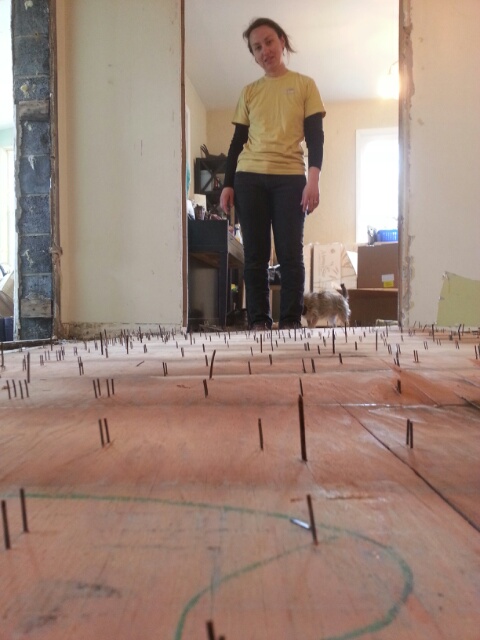
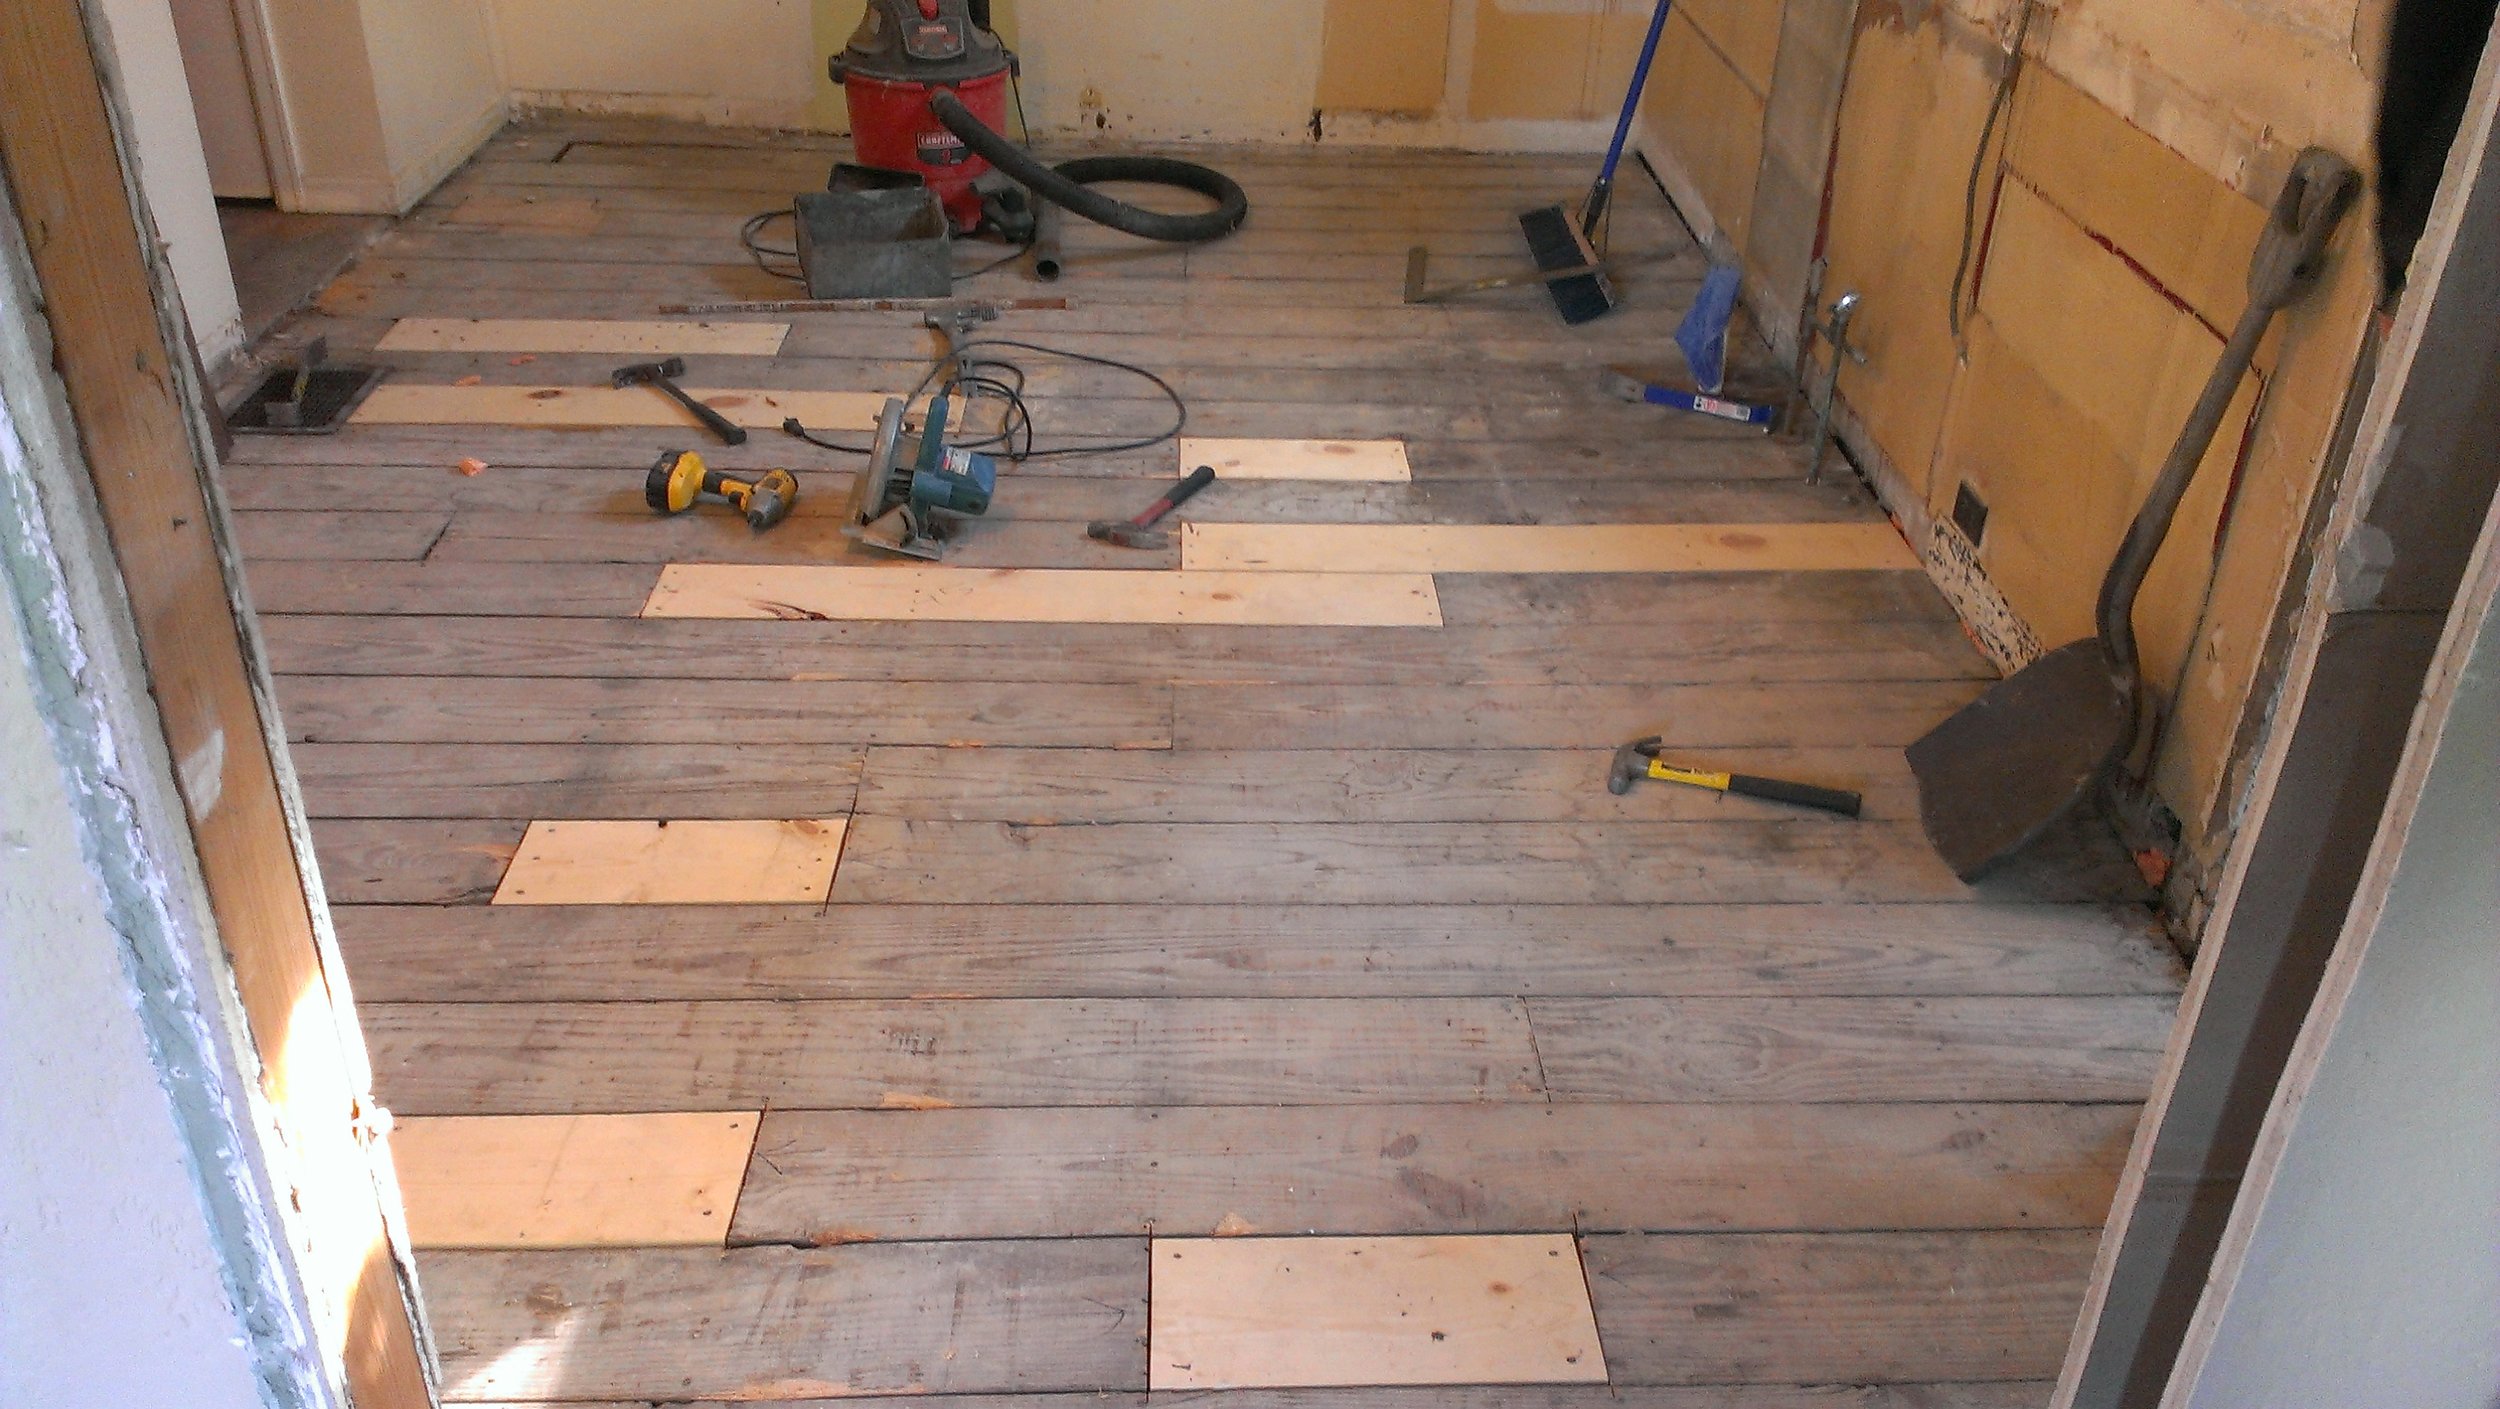
After the old cabinets are re-purposed in other areas of our home and the old flooring is sent to the dump (sadly, we can't think of anything to do with cracked tile and worn vinyl), we'll lay in new wood or bamboo flooring. Unlike last kitchen when we spent big bucks for cork, this go-round we will choose something within our budget from whatever's in stock at a local flooring company.
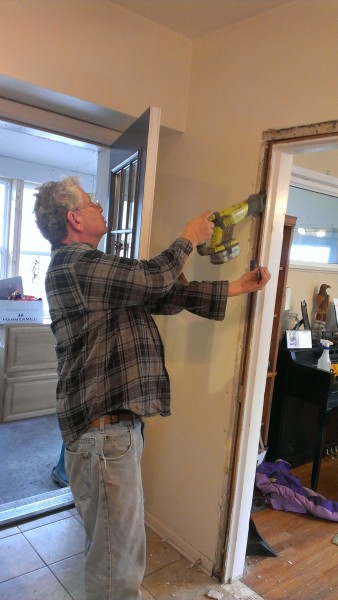
Leonard Krashoc, mastermind behind the mudroom and children's book author (go buy his books!), will help us out with the kitchen. He's a whiz with drywall, so he's going to expand a doorway to allow easier flow through the house. He'll also help extend the gas line, fix the goofy wiring, and troubleshoot any unexpected projects we might uncover. Everyone cross your fingers that we don't find too much trouble behind the walls.

We went to IKEA today to order cabinets during their 20% off kitchen sale. It's not as boring as Lil makes it out to be - if you've done your homework with the 3D kitchen planner like we did, staff just does a double check, prints the list of every individual part, and collects payment. We opted for $149 delivery to our house which could have come as soon as this Sunday! (But we pushed them off a week because we aren't quite ready for stacks of cabinet boxes.)
All the base cabinets we ordered, including those in the island, are full of drawers. We miss drawers! Because we despise corner cabinets, we arranged for straight runs of cabinet only. Straight lines will make counter construction easier too.
We're going to make our own countertops again - this time with zinc over a plywood base. Zinc is food safe, easy to work, and will patina over time to add to the farmhouse feel. Catch up with how we made wooden countertops at our previous house in 2009.
The next big purchase to be made is the gas range top, double ovens, and outside vent hood. We're going with large, semi-professional grade cooking appliances in brushed stainless finish. We are not replacing the dishwasher and refrigerator right now because they're still working fine and we're wanting to stay within our budget of cash saved.
Lighting, paint, and decor will be simple and comprised of some pieces we already have.
Our plans sound straightforward when I write them out and perhaps that's why I only have ten days set aside for the project. I'll share our schedule and why I think we can remodel a kitchen in this timeline soon.
What do you think of the master plan? Will our third IKEA kitchen be our last?

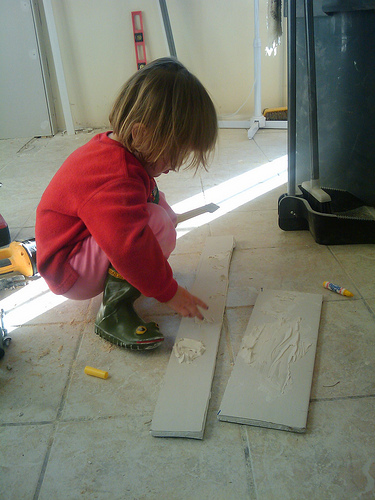
 1) Demolition is fun for the first swing. Then you will get tired. Lil effectively removed zero material but has
been a trooper about entertaining herself while we work.
1) Demolition is fun for the first swing. Then you will get tired. Lil effectively removed zero material but has
been a trooper about entertaining herself while we work.