
At the request of several readers, I (Alex, Rachel's husband) wrote this tutorial about the installation of our wood countertops on the cheap.
Advantages/Disadvantages to Wood
To begin with, you need to decide if a wooden surface is right for you. If you already have wood cabinets, more wood on the countertops can lead to an overload of natrual products in a kitchen. Consider using a contrasting wood for the countertop than you use for the cabinets. In our case, we chose cherry for the countertops to contrast with the oak cabinets both because of the aesthetic quality and because we already had some scrap cherry.
Another consideration is that wooden countertops are likely to eventually wear in contrast to solid surface or granite which claims to be durable for decades. We figure that with proper upkeep (sanding and refinishing as needed) wooden counters will last at least ten years at which point we can replace them for another meager $400.
Because of the multiple coats of polyurethane finish, these counters are as antibacterial as any. They are waterproof and can be cleaned with soap and water or gentle cleaners just like higher end materials.
Material Selection
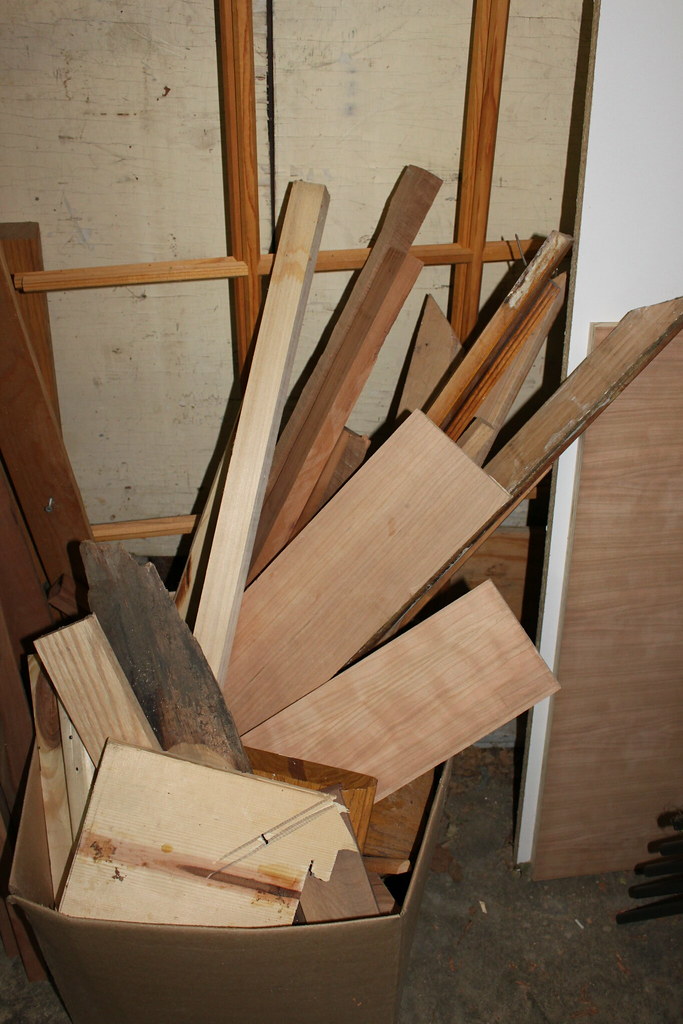
Traditional wood countertops use solid planks of the chosen wood for the surface. However, this material offers no cost advantage over other solid-surface countertops. For this project, we wanted to save a considerable amount over the $40-100/square foot that solid-surface countertops can run. To this end, we chose to make the bulk of the countertop from cabinetry-grade cherry plywood with the edges being finished with solid cherry.
Wood is a earth friendly material source. It is renewable when harvested and planted correctly. The solid edges are easy to fashion from scrap wood you might already have. The plywood remnants can be used for other small projects.
There are some obvious disadvantages to plywood. Mainly, the veneer surface is very thin and prone to damage if not protected. The use of several coats of an appropriate polyurethane finish will serve to protect the surface. Also, the plywood is prone to water damage if water penetrates past the finish to the wood. To combat this, care must be taken to ensure that the edges of the countertop are finished just as thoroughly as the surface is.
The cherry plywood for this project cost $95/sheet (4'x8') at Woodwerks in Gahanna, OH. This project required two sheets of plywood because of the specific shapes we needed. The solid cherry for the side cost nothing as I already had it on hand (a gift from a friend years ago). I simply had to thickness plane the cherry down to appropriately dimensioned planks and it was ready for use.
I also purchased an inexpensive biscuit jointer for $45 from Harbor Freight. While much cheaper than comparable models at a home improvement store, it is of good construction and performed adequately for this job.
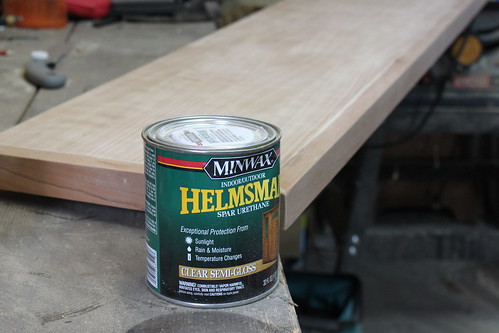
The polyurethane finish we used is Minwax Helmsman Spar Urethane, marketed specifically for use on countertops.
A sub countertop of 3/4 inch construction plywood was screwed into cabinets. This provided a working surface the during the 12 month waiting process and remained in place under the new counter.
Continue to Part Two for details about the construction.